Rugby Positions Explained – Your Quick Guide
If you’re new to rugby or just want to sound smarter at the next match, knowing what each player does makes a big difference. Below is a straight‑forward rundown of every position, why it matters, and the basics you need to spot on the field.
Forwards – The Powerhouse
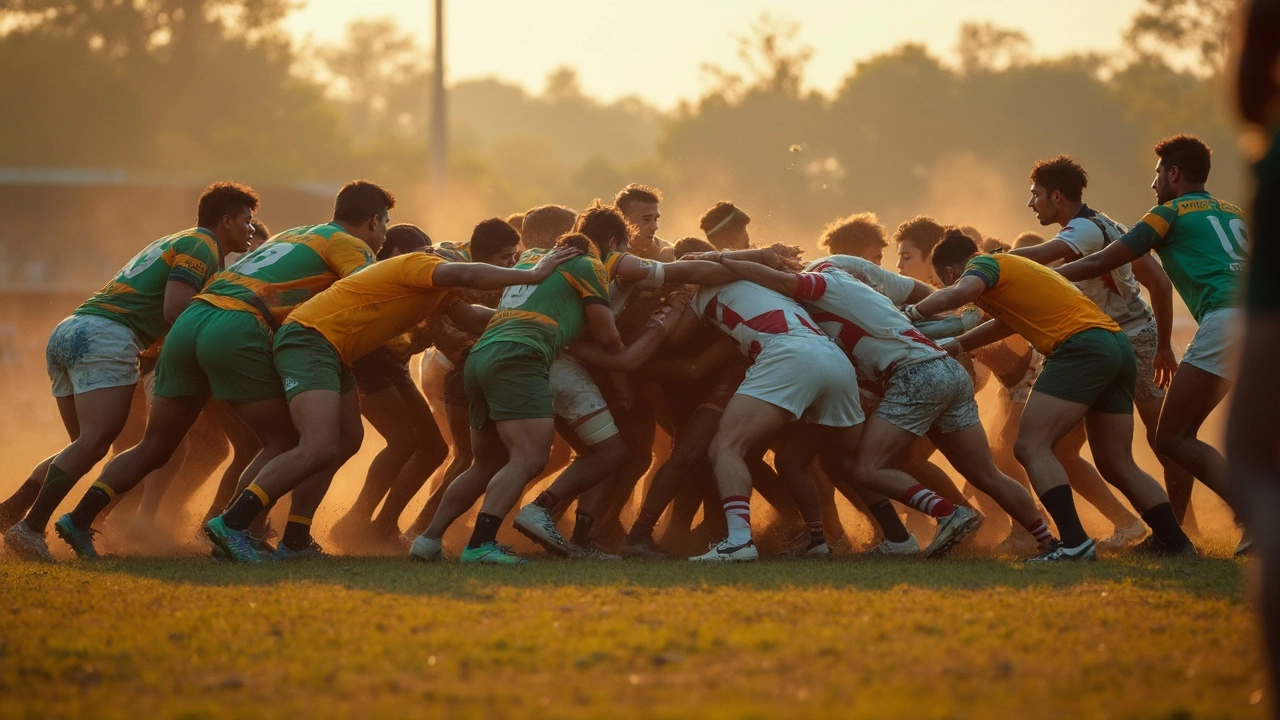
Forwards are the heavy hitters who do the hard work in scrums, line‑outs, and close‑quarters play. They’re numbered 1 to 8.
1 – Loosehead Prop: Stands on the left side of the front row. Main job is to keep the scrum stable and give the ball a solid platform. Look for a strong, low‑center‑of‑gravity player who can hold the line in tackles.
2 – Hooker: In the middle of the front row. He hooks the ball back in the scrum and throws it in at line‑outs. A hooker needs good timing and a quick, accurate throw.
3 – Tighthead Prop: Right side of the front row. Faces the biggest pressure in the scrum, so the tighthead must be tough and have good technique to avoid collapses.
4 & 5 – Locks (Second Row): Tall guys who jump in line‑outs and push hard in scrums. They provide the drive that moves the whole pack forward. Expect them to win most aerial battles.
6 – Blindside Flanker: Works on the side of the scrum with less space. He’s a mix of a bruiser and a tackler, often the first to the breakdown.
7 – Openside Flanker: Plays on the open side of the scrum, chasing the ball everywhere. Speed and stamina are key, as he tries to steal possession.
8 – Number Eight: Backs the scrum, picks the ball up, and runs it forward. A good number eight combines power with ball‑carrying skill and can link the forwards to the backs.
Backs – The Speedsters
Backs wear numbers 9 to 15. They handle most of the running, passing, and kicking that creates scoring chances.
9 – Scrum‑Half: The link between forwards and backs. He feeds the ball from scrums, rucks, and mauls, then decides whether to pass, kick, or run. Quick hands and sharp vision are a must.
10 – Fly‑Half: Often called the play‑maker. He directs the attack, chooses the kicking strategy, and makes key passes. Look for a player with good decision‑making and a solid kicking game.
12 & 13 – Inside & Outside Centres: These two work side‑by‑side. The inside centre (12) often takes the ball up to crash the defense, while the outside centre (13) looks for gaps and sets up the wings. Speed and defensive skills matter for both.
11 & 14 – Wings: Positioned on the far edges. Their job is to finish moves and score tries. Fast feet, good positioning, and the ability to beat defenders one‑on‑one are essential.
15 – Fullback: The last line of defense. He fields kicks, launches counter‑attacks, and often joins the line as an extra attacker. A good fullback reads the game well and has reliable catching and kicking skills.
Now that you know the basics, watching a match becomes a lot more interesting. Spot the forwards pushing hard in scrums, then follow the ball as it moves to the backs for a sprint to the try line. Each position has a clear purpose, and when they all work together, the team looks unstoppable.
Next time you’re at a game, try naming each player’s role as they move. You’ll feel more involved and maybe even impress a few fellow fans.


